Grilling
Barbecue Basics for Absolute Beginners: Lighting, Heat Control and When to Flip
The first time you cook over coals it is easy to talk yourself out of it. The fire looks either far too fierce or practically out, the sausages stick, and someone keeps asking whether it is ready yet. None of it is complicated once you understand three things: how to light a chimney starter properly, how to arrange the coals so there is somewhere hot and somewhere gentle, and how to tell when food is done without prodding it every thirty seconds. Everything else is detail.
Lighting a chimney starter without drama
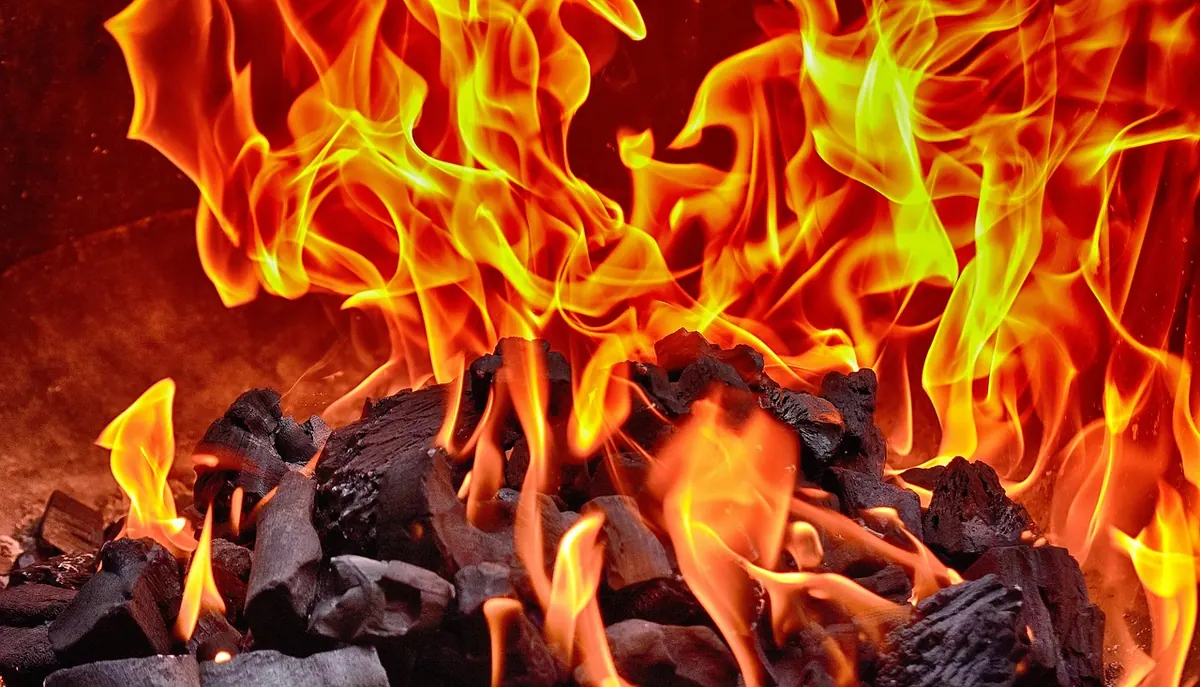
A chimney starter is a metal cylinder with a handle and a grate near the bottom. You fill the top with charcoal, light something underneath, and the fire draws upwards through the coals. No lighter fluid, no pyramid of briquettes collapsing halfway through.
- Set the chimney on the charcoal grate of your barbecue. On a kettle, that is the grate the coals sit on; on a rectangular grill, just stand it on the base.
- Stuff two sheets of crumpled newspaper, or a couple of firelighters, into the space under the internal grate. Do not pack it tight — air needs to move through.
- Fill the chimney to the top with lumpwood charcoal or briquettes. A full chimney is roughly right for a two-zone setup in a standard kettle.
- Light the paper in two or three places through the holes at the bottom.
- Wait. In ten to fifteen minutes the top coals should be grey and ashy at the edges, with a faint orange glow underneath when you look down into the chimney.
- Tip the coals out onto one side, never spread evenly across the whole base. That single decision makes the rest of the cook far easier.
If the top of the chimney is still black after twenty minutes, the airflow underneath is blocked. Lift it, loosen the paper, and try again.
Build two zones and you have heat control
Push the hot coals to one side and leave the other side empty. The hot side is for colour and crust; the empty side is a gentle area where food can finish cooking without burning. This is the most useful habit in charcoal cooking, and it costs nothing. For a medium zone between the two, bank the coals at a slope — thick against one wall, tapering off towards the middle.
Reading the heat by hand
Hold your open palm a few inches above the grate and count. Three to four seconds before you have to pull away is a hot fire, right for steaks and quick-seared vegetables. Five to six is medium, good for sausages, chicken pieces and fish. Seven or more is gentle — ideal for ribs, whole joints and anything you want to cook slowly.
Vents are your throttle. Opening the top and bottom vents feeds the fire oxygen and makes it hotter; closing them down starves it. Leave the top vent at least partly open while you cook, or smoke and stale air hang around the food. For a longer, slower cook, close the bottom vent most of the way and let the fire idle.
When to flip — and when to leave things alone
The honest answer is: flip when the food releases itself. If you have to tug at a sausage or a steak with tongs, it is not ready to turn, and pulling early is how you lose the crust to the grate. Give it another minute.
- Sear over the hot zone, then move to the cool zone to finish. This avoids the classic beginner problem of a burnt outside and a raw middle.
- Flip once or twice for most things. Constant turning slows the crust forming and makes you feel busier than you are.
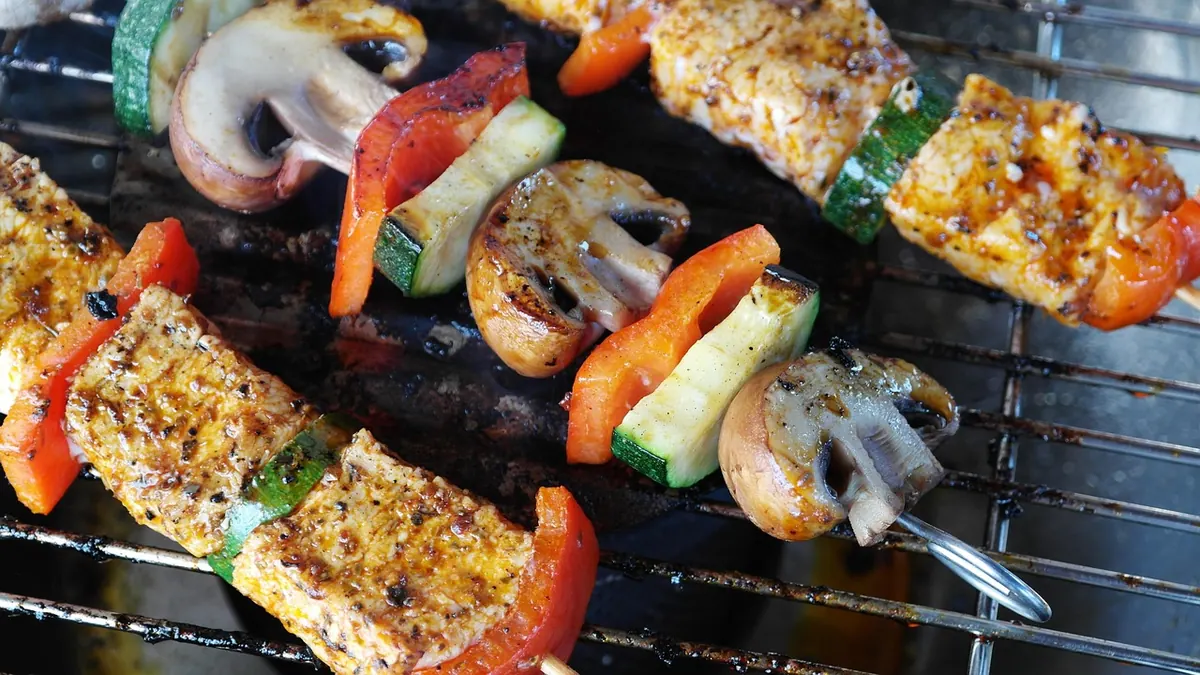
- Thin items — halloumi, thin fish fillets, sliced vegetables — need one careful flip and a lightly oiled grate.
- Never press down with a spatula. You are squeezing juice onto the coals, not cooking any faster.
Judging doneness without a thermometer
Your senses are better tools than you think, provided you use more than one of them.
Touch. Steaks and chops firm up as they cook. A rare steak feels soft and yielding under a finger, medium has a little spring and resistance, and well done feels tight and barely gives. Try this on a few cooks while also cutting in to check, and you will calibrate quickly.
Juices. For chicken pieces and pork, pierce the thickest part and look at what runs out. Clear juices mean it is cooked; pink or bloody means more time on the cool side. Judge the meat itself rather than the juice alone, as pinkness close to the bone is not unusual on a young bird.
Texture and appearance. Fish flakes apart when it is done and turns from translucent to opaque. Prawns curl into a loose C; a tight O means they are overcooked. Vegetables slacken and char at the edges, and sausages firm up as their skins tighten.
The cut-and-look. There is no shame in cutting into the thickest piece. Do it over the cool side of the grate and let it finish if it needs it. For minced meat and poultry, be strict — cook it right through with no pink in the middle, especially if you are serving anyone who is pregnant, elderly or unwell. If you want certainty, a digital probe thermometer is inexpensive and takes seconds; the no-thermometer approach is for when you have not got one to hand, not a reason to serve undercooked chicken.
A first cook that forgives mistakes
Start with something that copes with a fire that is not quite right. Skin-on chicken thighs are ideal: they take well to a sear over the hot zone and ten to fifteen minutes on the cool side, and they are far more forgiving than breast. Sausages, halloumi, corn on the cob and thick slices of aubergine all work the same way. Leave steaks and whole fish for your third or fourth cook.
Cook one thing at a time, keep the lid on between turns, and resist the urge to fill every inch of the grate. Empty space is a tool.
Practise the fire, not the recipe
Recipes give you a target; the fire decides how you get there. Spend your first few cooks simply noticing how the coals behave — how quickly they ash over, how the heat drops after twenty minutes, what happens when you open the bottom vent a little. Light a chimney, build two zones, keep the lid on, and use your eyes, nose and fingers before you reach for a timer. Get that right and the food follows. And if you are cooking for anyone in a vulnerable group, or simply unsure whether something is done, err on the side of more time. Nobody has ever complained about a sausage that was cooked through.
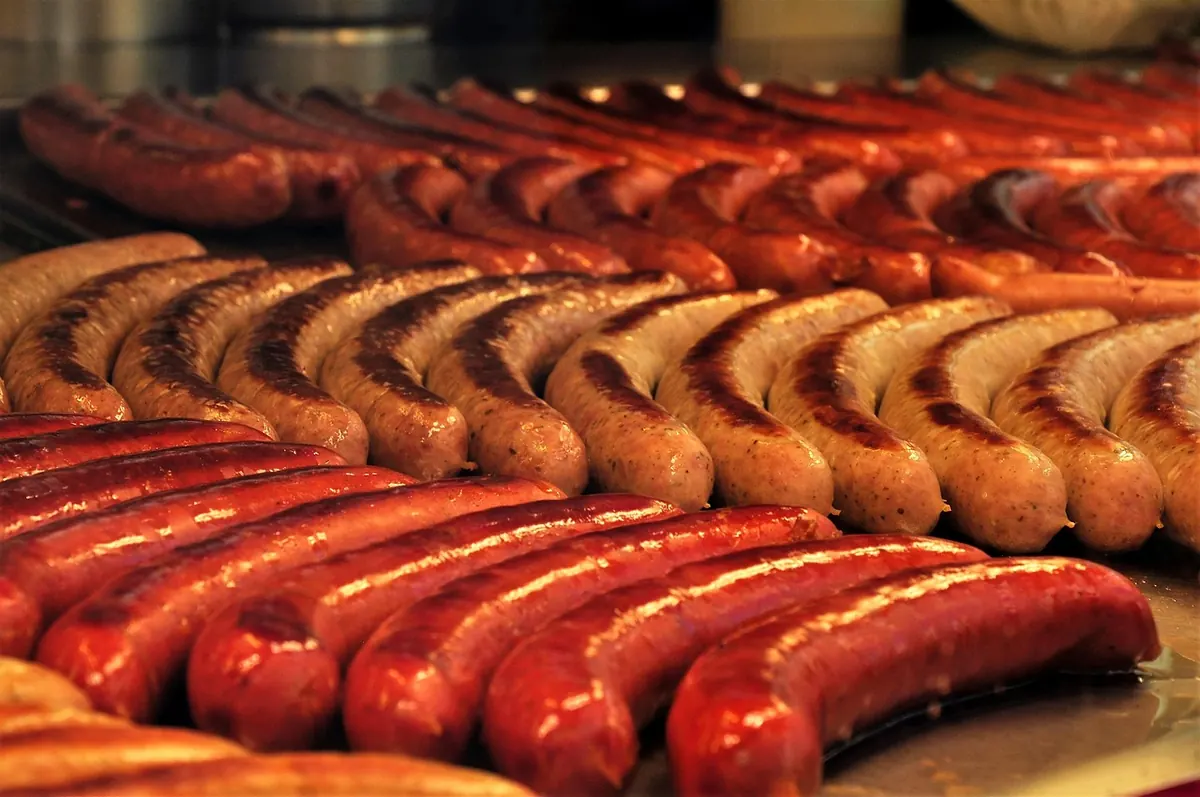
Photo: Charly_7777 / Pixabay